Hi there and happy first day of Spring! My kids have been counting down the days until Spring, and they are so excited that it's finally here!
I'm also excited that it's time for another Lawn Fawn Inspiration Week! The design team is sharing inspiration with some of the items from the recent release. Today, I'm sharing a project that uses the new slimline stencils!
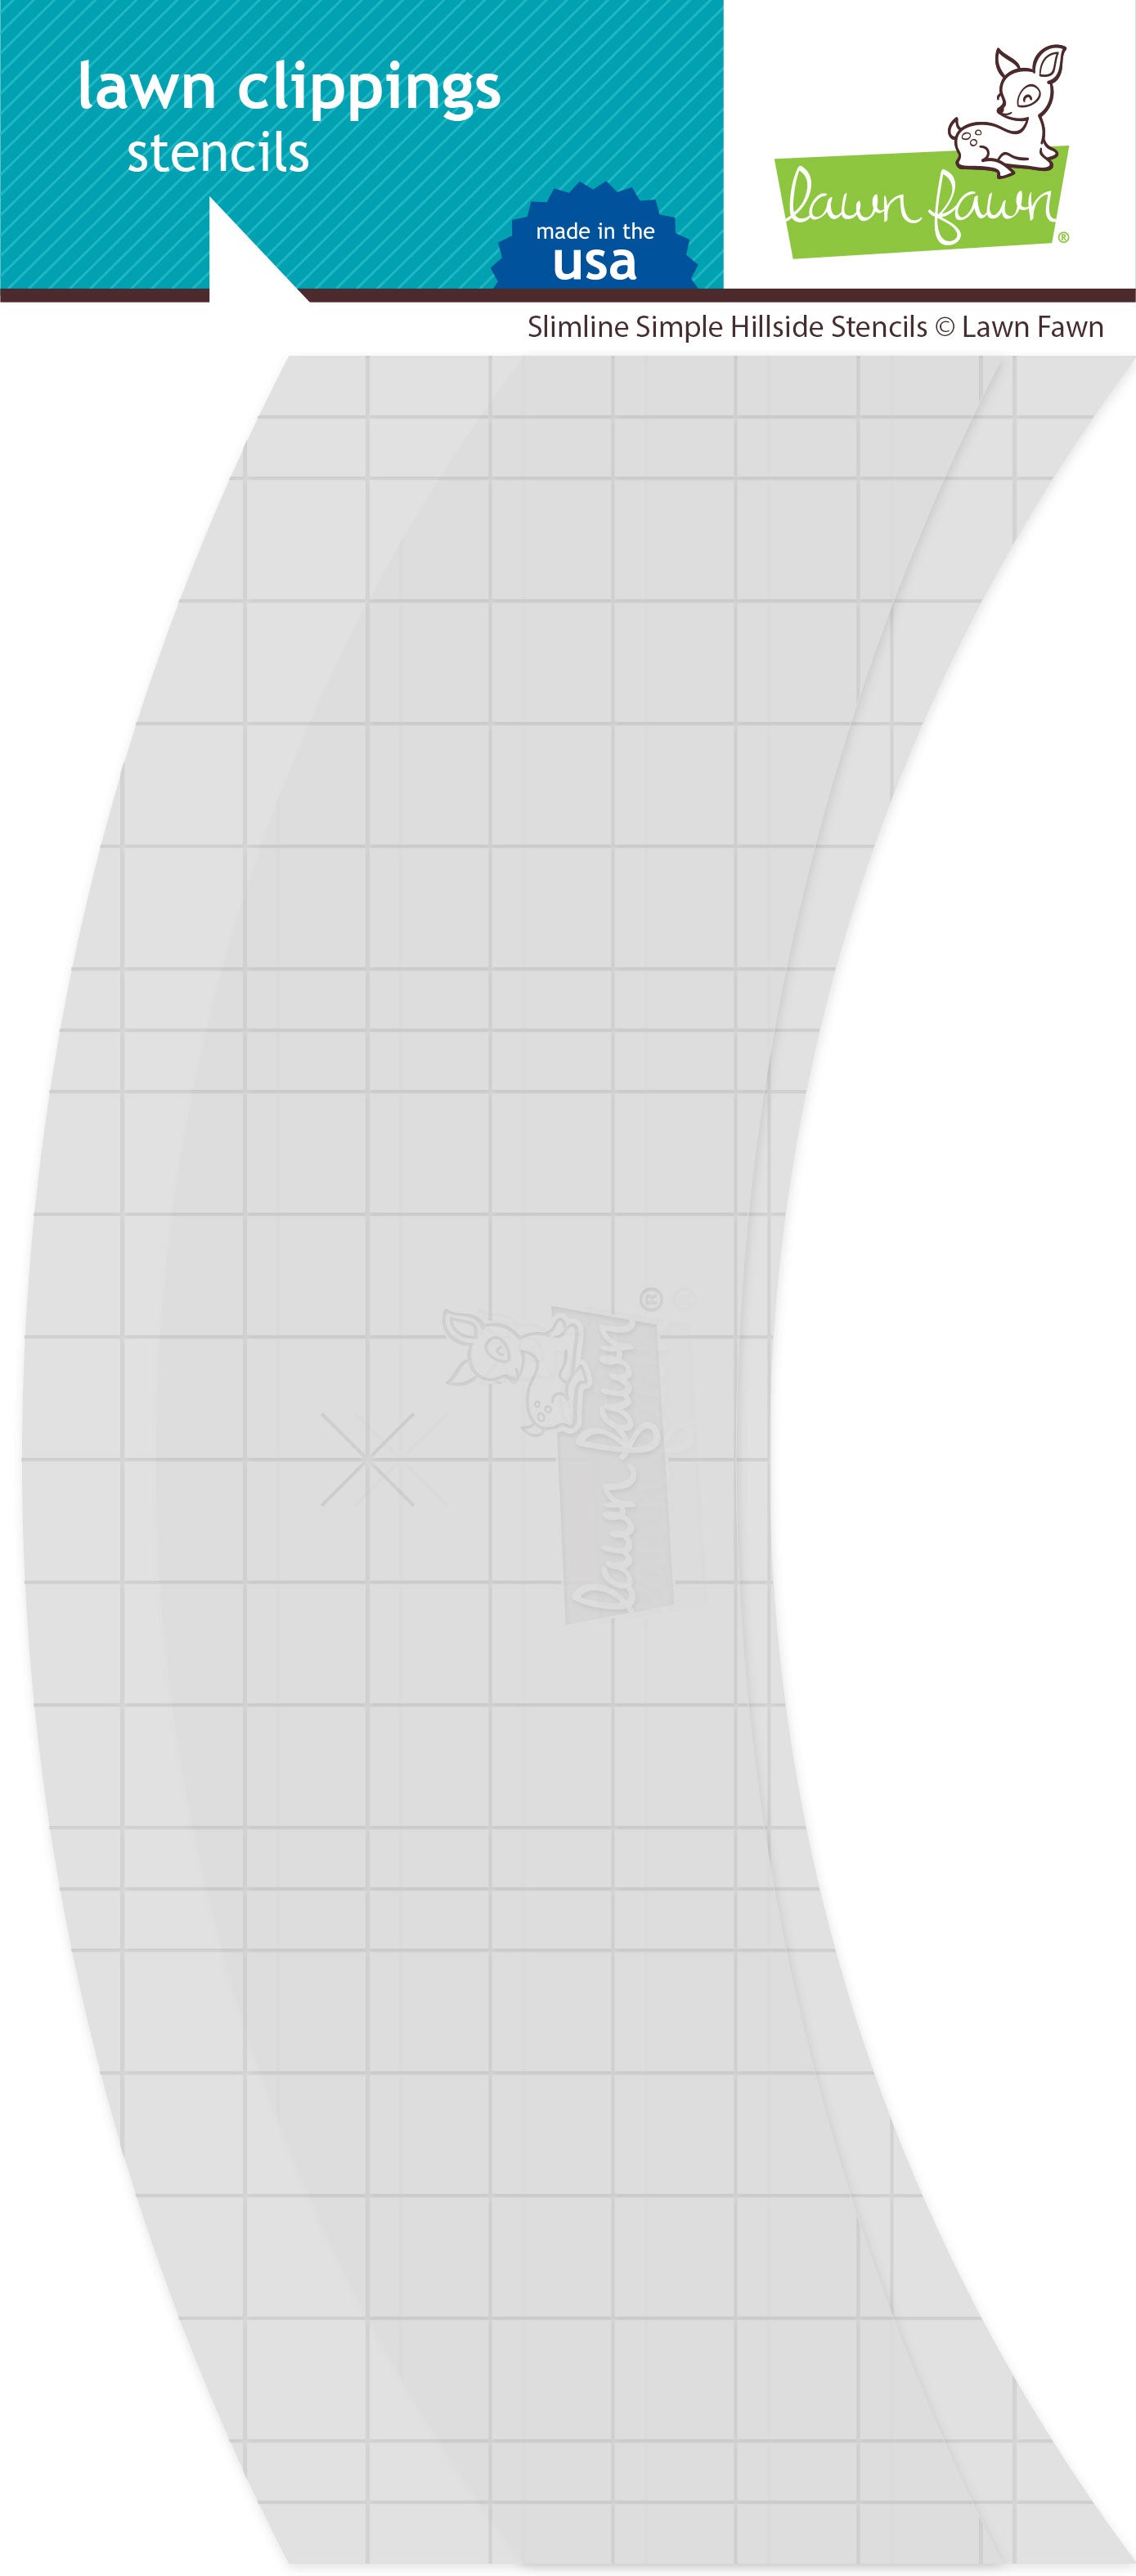
The Slimline Simple Hillside Stencil is perfect to use for hillsides, but it can also be used to make rainbows! I used distress oxide inks - Worn Lipstick, Mustard Seed, Twisted Citron, Cracked Pistachio, and Peacock Feathers - to create the rainbow.
I started by die cutting a piece of Bristol smooth card stock with the Large Slimline die and taped it down to my glass craft mat. I took one of the hillside stencils and lined it up along the top edge of the rainbow. Then, using the other hillside stencil, I placed it along the bottom of the pink arc and taped down both of the stencils. Once the stencils were in place, I used a foam blending tool to ink blend the pink arc between the stencils. After the pink was done, I switched the hillsides so that the bottom one was now covering the pink arc, and the previous top arc was moved to where the bottom of the yellow arc would be. I had to switch the order of the hillsides so that the arcs would line up for the ink blended. I continued to ink blend and switch the hillsides until the rainbow was completed.
After the rainbow was complete, I used the stitched hillside stencil to cover the rainbow in order to ink blend the clouds around the rainbow with the Slimline Cloudy Stencils and Tumbled Glass distress oxide ink. Once the background was finished, I stamped the sentiment in the top left, then attached the background to a piece of Mermaid cardstock and finished by attaching it to a white card base.
I stamped the unicorns, clouds, stars, and fairies from the Unicorn Picnic stamp set, colored them with Copic markers, and die cut them with the coordinating dies. The images are arranged on the background and attached with foam tape or liquid glue.

This is a fun way to stretch the use of the hillside stencils! Thanks so much for visiting and enjoy your first day of Spring! :)
 80lb White Shop at: LF |
 Mermaid Cardstock Shop at: LF |
 Black Licorice Ink Pad Shop at: LF |
 Jet Black Premium Ink Pad Shop at: LF |
 Distress Oxide - Cracked Pistachio Shop at: LF | EH |
 Distress Oxide - Mustard Seed Shop at: LF | EH |
 Distress Oxide - Peacock Feathers Shop at: LF | EH |
 Distress Oxide - Twisted Citron Shop at: LF | EH |
 Distress Oxide - Tumbled Glass Shop at: LF | EH |
 Distress Oxide - Worn Lipstick Shop at: LF | EH |
 Mini Ink Blending Tool Shop at: LF |
 Mini Ink Blending Foam Shop at: LF |
 Scotch Double-Sided Foam Tape Shop at: LF |
 White Gelly Roll Pen Shop at: LF |
 Unicorn Picnic Shop at: LF | EH |
 Unicorn Picnic Dies Shop at: LF | EH |
 Large Slimline Dies with Sliders Shop at: LF | EH |
 Slimline Simple Hillside Stencils Shop at: LF |
 Slimline Cloudy Stencils Shop at: LF |


This is a beautiful card. I love your style.
ReplyDeleteThanks for your kind words! :)
DeleteLove the slimline ideas LF is bringing and the unicorns are adorable!
ReplyDeleteThanks so much! :)
Delete