Monday, March 30, 2020

Glittery Hello with Lawn Fawn

Good morning friends! I hope that you're all doing well and staying safe this week. It's crazy how so much has changed in just a few weeks!

I have a card to share with you today that I made with some new to me products. I've really wanted to try glitter gel, so I experimented with some Gina K white glitter gel this weekend and I created this card!


One of my favorite background dies is the Fancy Lattice Backdrop from Lawn Fawn, so I decided to use that as a stencil for my card! To create a stencil from a backdrop die, I used the die to cut a piece of acetate. Sometimes its tricky to get all of the details cut, but using a metal adapter plate helps to get all of the cuts. I like to use acetate because then I can reuse the stencil that I created!

Once the stencil was created, I die cut a piece of Ballet Slipper cardstock with the Outside In Stitched Square Stackables die. I laid the stencil on top of the cardstock and ink blended pink ink onto the background. I wanted there to be a little bit of pink behind the white glitter. I then used a paint spatula that I found in my craft desk to smooth the glitter gel onto the cardstock. It was fun to spread it all around the card! Once I was done, I gently peeled back the stencil and let the background die.

Once the background was dry, I attached it to a 4 1/4" square white card base. I used the Louie's ABCs die to cut the hello letters from pink shimmer cardstock and attached them to the background. Then, I white heat embossed the rest of the sentiment with stamps from the Reveal Wheel Sentiments set. Here's a closer look at the sentiment and background:


The glitter gel is so shimmery and fun, and I know I'll be using it on many more cards!

Thanks so much for visiting today and I hope your day is great! :)


Supplies: Below is a list of supplies used for my project. Affiliate links are provided at no extra cost to you. Your support allows me to provide you with more inspiration. Thank you!

Shimmer Cardstock - Tropical
Shop at:
Lawn Fawn
Acetate
Acetate
Shop at:
Lawn Fawn
Ballet Slippers Cardstock
Shop at:
Lawn Fawn
Black Licorice Cardstock
Shop at:
Lawn Fawn
Metal Adaptor Plate
Metal Adaptor Plate
Shop at:
Lawn Fawn
White Embossing Powder
Shop at:
Lawn Fawn
Embossing Ink Pad
Embossing Ink Pad
Shop at:
Lawn Fawn
Wild Rose Ink Pad
Wild Rose Ink Pad
Shop at:
Lawn Fawn
Fancy Lattice Backdrop
Shop at:
Lawn Fawn
Louie's ABCs
Louie's ABCs
Shop at:
Lawn Fawn
Outside In Stitched Square Stackables
Shop at:
Lawn Fawn
Reveal Whl Sentiments
Shop at:
Lawn Fawn
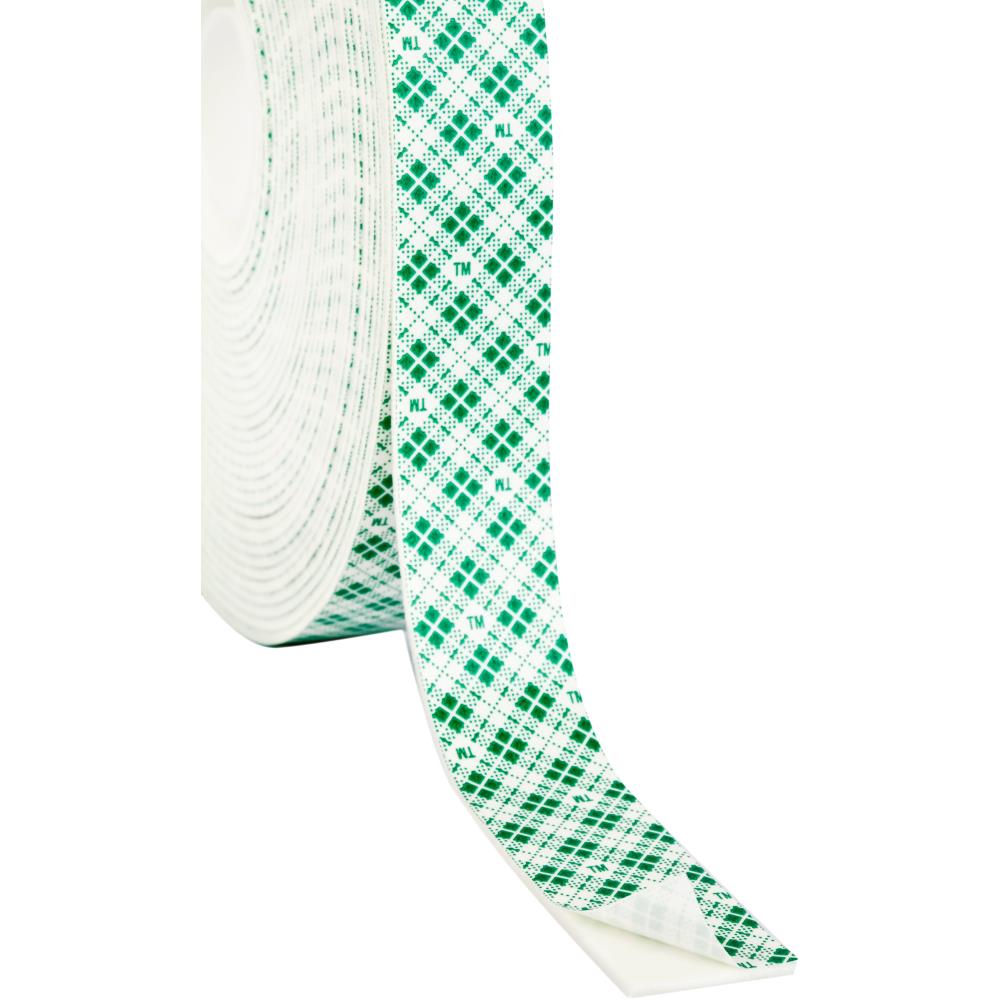
Scotch Double-Sided Foam Tape
Shop at:
Lawn Fawn

Wednesday, March 18, 2020

LF Inspiration Week: Lift the Flap Meadow

Hello! I hope that you're having a good day today and that you're staying safe! My husband is a teacher, so he is now at home preparing for online classes next week. My kids love having him home all day!

Today, the Lawn Fawn design team is sharing projects that feature the Lift the Flap Meadow die. This is such a fun die that helps create interactive cards.


I created a scene with Lawn Fawn cardstock. I used Moonstone cardstock cut with the Outside In Stitched Rectangle die for the sky, Noble Fir cut with the Simple Grassy Hillside die for the background grass, and Cilantro cut with the Stitched Hillside Border die for the front grass. For the tree stump, I used Paper Bag cardstock and the grass flaps were also cut with Cilantro cardstock.


After creating the background scene, I stamped and colored the images from the Some Bunny and cut them with the coordinating die cuts. I stamped the sentiment in the sky, and attached the flowers behind the grass with glue. The bunnies are attached with foam tape, and the eggs and carrots are attached with liquid glue. It's so fun that the grass flaps can hid the images behind them! And I really like the hidden images in the stump!


Here's another view of some of the hidden images. My three year old was a great hand model, haha!


There's more inspiration on the Lawn Fawn blog, so check it out! Thanks so much for visiting today! :)


Supplies: Below is a list of supplies used for my project. Affiliate links are provided at no extra cost to you. Your support allows me to provide you with more inspiration. Thank you!

Cilantro Cardstock
Cilantro Cardstock
Shop at:
Lawn Fawn
Moonstone Cardstock
Moonstone Cardstock
Shop at:
Lawn Fawn
Noble Fir Cardstock
Noble Fir Cardstock
Shop at:
Lawn Fawn
Paper Bag Cardstock
Paper Bag Cardstock
Shop at:
Lawn Fawn
Glue Tube
Glue Tube
Shop at:
Lawn Fawn
Jet Black Premium Ink Pad
Shop at:
Lawn Fawn
Outside In Stitched Rectangle Stackables
Shop at:
Lawn Fawn
Simple Grassy Hillsides
Shop at:
Lawn Fawn
Simple Stitched Hillside Borders
Shop at:
Lawn Fawn
Some Bunny
Some Bunny
Shop at:
Lawn Fawn
Some Bunny Dies
Some Bunny Dies
Shop at:
Lawn Fawn
Scotch Double-Sided Foam Tape
Shop at:
Lawn Fawn

Tuesday, March 17, 2020

LF Inspiration Week: Rolled Roses

Hello friends! The Lawn Fawn Inspiration Week continues today with a look at the Rolled Roses die! This die makes the cutest little flowers - especially when you cut them with felt!


I have had these wooden oval signs in my craft area for the longest time, and I decided that they would make the perfect signs for my daughters room. They will share a room next summer, so I wanted something that would match, but would be slightly different. The signs are wood, so I started by painting them with white paint for a local craft store. I used my computer to design the names, printed the designed, and traced the names onto the signs. To trace the names, I rub chalk onto the back of the printed paper, lay it onto the sign where I want the letters, and then trace over the names with a pencil. Tracing the names leaves a chalk outline on the sign that I then trace with a black paint marker. I'm terrible at painting or writing without a template, so this technique has worked well for me.

After I have the names painted onto the signs, I created the felt flowers. I made one large flower and two small flowers for each sign. I also cut out a bunch of leaves to add behind the flowers. For my flowers and leaves, I used Benzie felt, which is a much better quality than the cheap felt from the big box craft stores. To roll the flowers, I added a little bit of hot glue to the center of the flowers, and then rolled until I came to the end where I added another small bit of hot glue. They turned out so cute!


I also really like the stitched detail that is included in the leaves. And I really like that the stitched detail came through on the felt, too! Here's a closer look at the flowers on the signs:


There's a lot more inspiration on the Lawn Fawn blog, so check it out! I'll be back again tomorrow with more inspiration. :)


Supplies: Below is a list of supplies used for my project. Affiliate links are provided at no extra cost to you. Your support allows me to provide you with more inspiration. Thank you!

Rolled Roses
Rolled Roses
Shop at:
Lawn Fawn

Monday, March 16, 2020

LF Inspiration Week: Dandy Day Paper Collection

Hi everyone! I have a birthday card to share today for the Lawn Fawn Inspiration Week that features the Dandy Day Paper collection!


For this card, I used the Dandy Day paper to paper piece the cacti from the Year Ten stamp set. The gray paper worked for the pot, the two shades of the green worked for the cacti, and the other different colors were perfect for the flowers and presents. I white heat embossed the sentiment and die cut it with the Everyday Sentiment Banner (my favorite banner die!)

The background was created with a piece of Cilantro cardstock cut to 5 1/2" x 4 1/4". I then used the Itsy Bitsy Polka Dot Backdrop die to emboss the cardstock. Here's a video by Nichol Spohr on how to dry emboss with a die (link here!). I attached the background to a white card base, and then added the cacti, banners, and presents with foam tape. To finish the card, I used my scissors to round the edges of my card. Here's a closer look at the card:


Thanks so much for visiting! I'll be back again tomorrow with more inspiration! :)


Supplies: Below is a list of supplies used for my project. Affiliate links are provided at no extra cost to you. Your support allows me to provide you with more inspiration. Thank you!

Year Ten
Year Ten
Shop at:
Lawn Fawn
Year Ten Dies
Year Ten Dies
Shop at:
Lawn Fawn
Dandy Day Petite Paper Pack
Shop at:
Lawn Fawn
Dandy Day Collection Pack
Shop at:
Lawn Fawn
Black Licorice Cardstock
Shop at:
Lawn Fawn
Cilantro Cardstock
Cilantro Cardstock
Shop at:
Lawn Fawn
1/4
1/4" Double-Sided Tape
Shop at:
Lawn Fawn
White Embossing Powder
Shop at:
Lawn Fawn
Embossing Ink Pad
Embossing Ink Pad
Shop at:
Lawn Fawn
Jet Black Premium Ink Pad
Shop at:
Lawn Fawn
Everyday Sentiment Banners
Shop at:
Lawn Fawn
Extra Sentiment Banners
Shop at:
Lawn Fawn
Itsy Bitsy Polka Dot Backdrop
Shop at:
Lawn Fawn
Scotch Double-Sided Foam Tape
Shop at:
Lawn Fawn