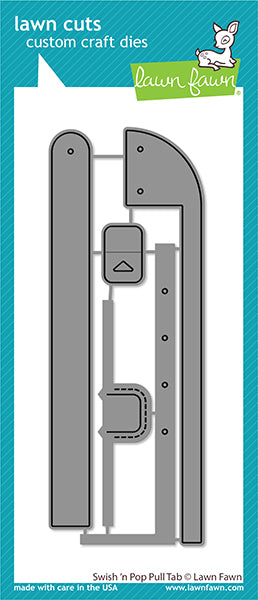
Hi friends! I'm back again today with more inspiration from the new Lawn Fawn release! Today, we are sharing projects that use the new interactive die - the Swish N' Pop Pull Tab! Such a fun name and such a fun and easy die.
Make sure to check out the video on the Lawn Fawn YouTube channel to see how to assemble the Swish N' Pop die. I really like how easy it is to reposition the interactive elements to make sure it's in the right place for the card.
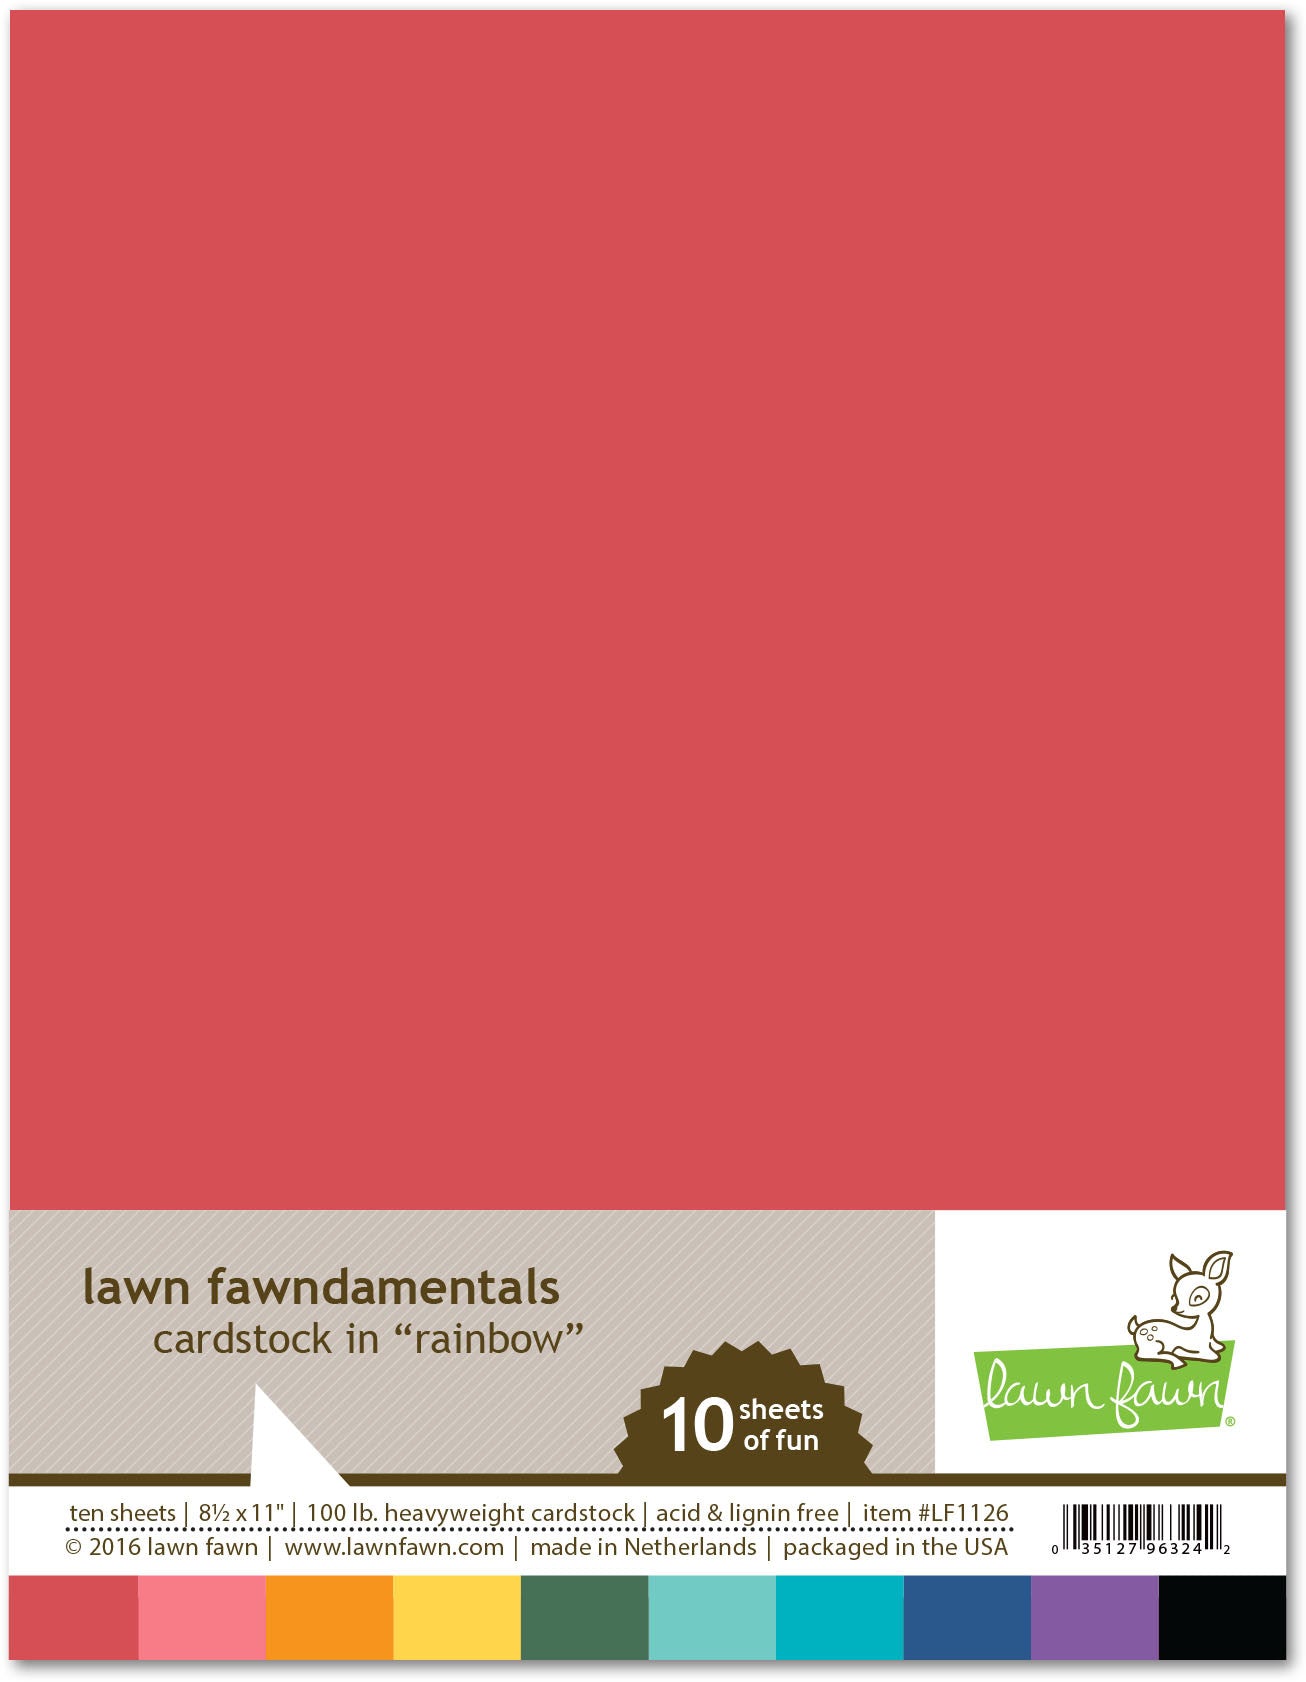
For this card, I started by die cutting the elements that I need to create the scene. The background uses the Puffy Cloud Backdrop die and Spiffy Speckles patterned paper. I wanted the rainbow to have the perfect arc for my design, so I used the Shadow Box Rainbow Add-On die and created the rainbow with different colors of cardstock - Guava, Fake Tan, Sunflower, Cilantro, and Peacock. I used the clouds from the Meadow Backdrop: Portrait die and hearts from the Hearts die and Ballet Slipper cardstock.
For the sentiment, I used the Big Scripty Words set and white heat embossed the sentiment onto Peacock cardstock. I like how the white sentiment pops on that colored cardstock! I also used the Long Distance Hugs stamp set to white emboss the "sending" onto black cardstock.

Once the elements for the card were created, I started to work on the interactive part. I used a piece of white cardstock cut to 4 1/4" x 5 1/2" and die cut the holes for the swish n' pop. I assembled the interactive elements as per the directions on the Lawn Fawn video. Once the die was assembled, I took the cloudy backdrop, cut between the clouds and attached the top part with double sided tape and the bottom part with foam tape. I wanted to make sure that there was plenty of room for the rainbow to move.
I glued the rainbow to the acetate slider piece and adjusted it until it was at the perfect angle to hide behind the clouds. It's a good idea to attached the rainbow with liquid glue so that you can adjust if you need to. Once the rainbow was in the perfect spot, I trimmed the extra acetate and extra cardstock on the pull tab. I arranged the clouds and hearts around the rainbow and attached them with glue. Then, I used foam tape to attached the sentiment below the rainbow.
This turned out so cute and it's so much fun to see it in action! Here's a video that my daughter helped me create:
And here's a look at the interactive card at different positions. How fun is it to send a friend a moving rainbow card?!
The design team created some amazing projects with this die, so make sure to check them out on the Lawn Fawn blog.
Thanks for visiting and I'll "see" you all again tomorrow! :)
Supplies: Below is a list of supplies used for my project. Affiliate links are provided at no extra cost to you. Your support allows me to provide you with more inspiration. Thank you!
 Meadow Backdrop: Portrait Shop at: LF | EH |
 Spiffy Speckles Petite Paper Pack Shop at: LF |
 Spiffy Speckles Collection Pack Shop at: LF |
 80lb White Shop at: LF |
 Acetate Shop at: LF |
 Assorted Cardstock Pack- Rainbow Shop at: LF |
 Ballet Slippers Cardstock Shop at: LF |
 Black Licorice Cardstock Shop at: LF |
 Cilantro Cardstock Shop at: LF |
 Fake Tan Cardstock Shop at: LF |
 Guava Cardstock Shop at: LF |
 Peacock Cardstock Shop at: LF |
 Sunflower Cardstock Shop at: LF |
 Glue Tube Shop at: LF |
 White Embossing Powder Shop at: LF |
 Embossing Ink Pad Shop at: LF |
 Hearts Shop at: LF |
 Shadow Box Card Rainbow Add-On Shop at: LF |
 Big Scripty Words Shop at: LF |
 Big Scripty Words Dies Shop at: LF |
 Scotch Double-Sided Foam Tape Shop at: LF |
 Puffy Cloud Backdrop: Landscape Shop at: LF | EH |
 Long Distance Hugs Shop at: LF |
 Swish 'n Pop Pull-Tab Shop at: LF |


No comments:
Post a Comment
Thank you so much for leaving a comment! They brighten my day! :)